“Imagine” is my least favorite Lennon song. Sadly, Lennon isn’t a dreamer at all in this song...
Read on

“Imagine” is my least favorite Lennon song. Sadly, Lennon isn’t a dreamer at all in this song...
Read on


People are afraid of demons. What are demons afraid of? Have you ever wondered? Maybe you would think it strange to imagine demons being afraid of anything. The accounts of demonic possession in the Gospels, and the attempts to represent such...
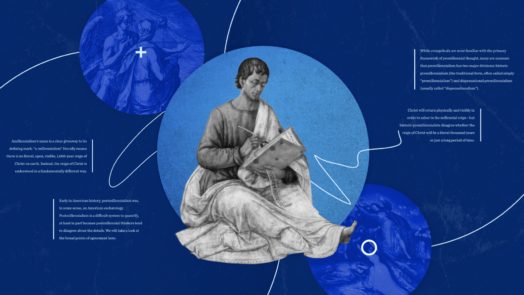
Learn what eschatology means, where eschatological themes are in the Bible, and more.

Logos is a powerful Bible study and sermon prep platform that allows you to study Scripture and consult commentaries, devotionals, Bible dictionaries, and more.
Learn more
Shuffling along the dusty paths of ancient Israel, travelers and residents would inevitably stumble upon piles of rocks. A particular pile near Gilgal, however, showed evidence of being constructed with purpose. The mighty warrior Joshua had...

A few years ago during the COVID shutdowns, my ministry, which I call “Disciple Dojo,” had to pivot from a weekly lunchtime Bible study at a local restaurant to teaching via YouTube. As anyone with a YouTube channel can attest, the algorithm can be...

Creeds and confessions are precious gifts to the church of the present from the church of the past, through the work of the Spirit. They summarize the beliefs Christians have studied, worked, debated—and even died—to state clearly from Scripture...
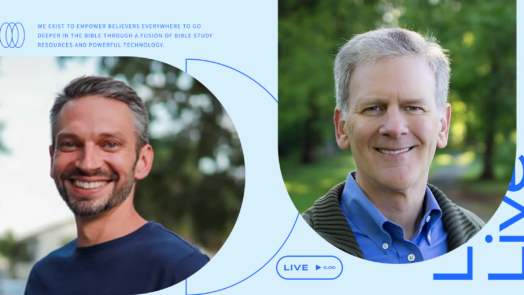
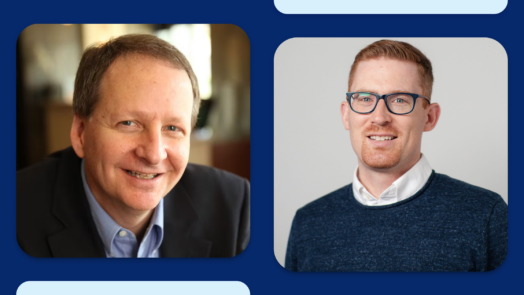
What you’ll see in this Logos Live episode In this engaging interview, we sit down with esteemed author and theologian Bryan Chapell to discuss his latest work, Are We Living in the Last Days?: Four Views of the Hope We Share about Revelation...
When it comes to Bible study, Google isn’t the safest bet. Learn how the Factbook feature in the Logos app pairs with trusted resources to deliver powerful results (without all the garbage).
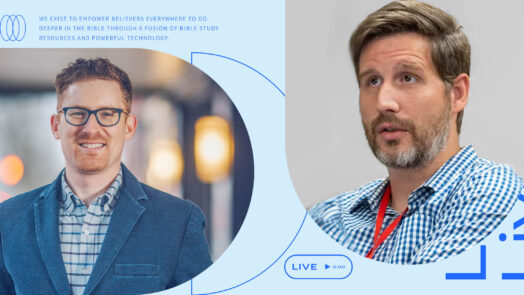
Explore the profound depths of repentance with Tim Miller and Mark Ward on Logos Live.
About This Webinar This webinar hosted by Scott Lindsey takes a closer look at the five Logos 10 features people love the most. It originally aired fall of 2023. Webinar Replay Transcript Hello, I’m Scott, and I’ll be your guide through...
In this Logos Live, Mark Ward nerds out (Mark's words) with renowned New Testament scholar Mark Strauss about Bible translation.
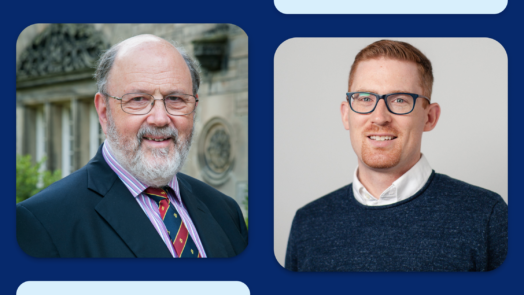
What you’ll see in this Logos Live episode In this Logos Live, Mark Ward interviews N. T. Wright about his brand new book, Into the Heart of Romans: A Deep Dive into Paul’s Greatest Letter. Mark asks questions about key portions of Romans 8...
Your email address has been added